
Excel library
How to Save a CSV With Commas Instead of Semicolons in Excel
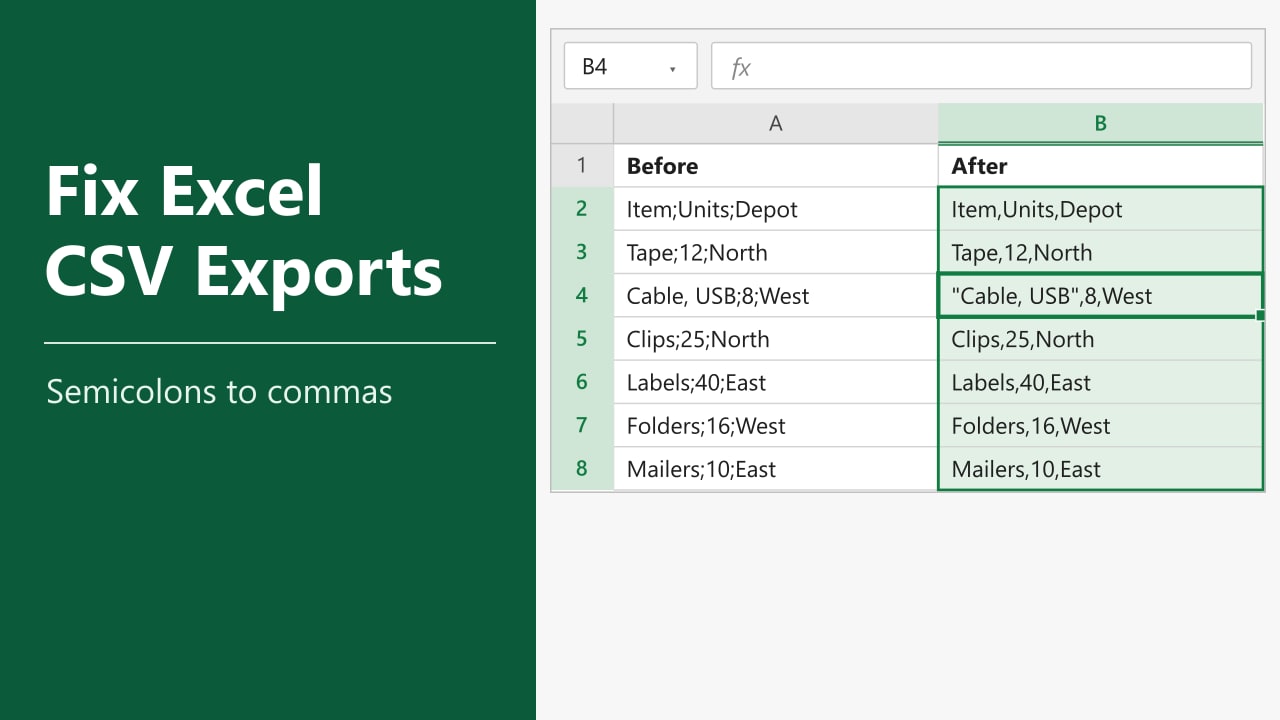
You export an inventory sheet from Excel, but the site you upload it to sees just one column. In Notepad, the header reads Item;Units;Depot where the importer expects Item,Units,Depot. This guide shows you what to do when Excel saves CSV with semicolons instead of commas on Windows 11.
- Press Windows + R, enter
intl.cpl, and press Enter. - Open Formats → Additional settings → Numbers, then set List separator to a comma.
- Click OK twice, export a fresh CSV UTF-8 (Comma delimited) copy from Excel, and check it in Notepad.
Use this setting if you regularly export comma-delimited files. For a one-time conversion, use the PowerShell method below.
Why Excel Saves CSV With Semicolons Instead of Commas
A delimiter is the character that separates fields in a text file. Desktop Excel normally uses the List separator from Windows regional settings when saving a CSV. Regions that use a comma as the decimal symbol often use a semicolon to separate fields, so a number like 12,50 can stay together. The file can still have a .csv extension and the Excel format picker can still say Comma delimited. Microsoft’s CSV import and export documentation explains how these settings interact.
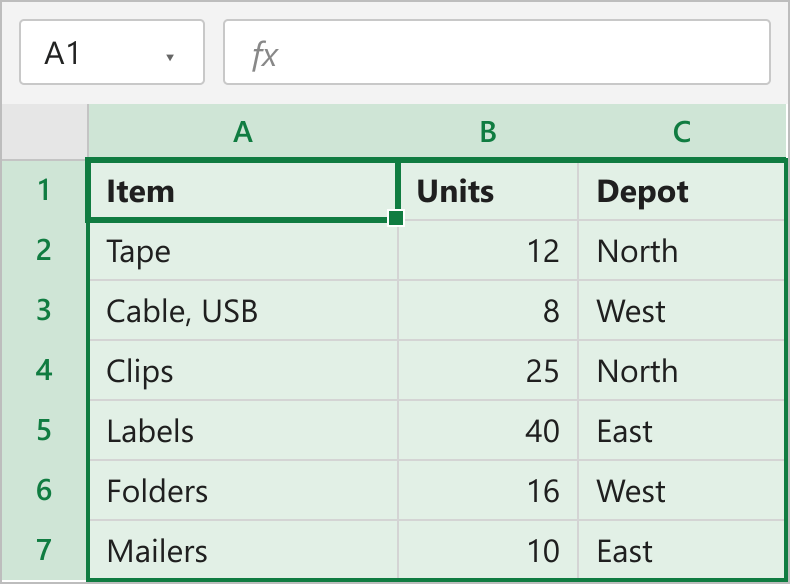
This example uses six inventory items in A1:C7, including an item named Cable, USB. That comma belongs to the item name. A correctly exported comma-delimited file puts the whole name in double quotes so the importer keeps it in one field.
Method 1 — Change the Windows 11 List Separator
Use this method if the same upload or reporting tool regularly requires comma-delimited files. Start with the original Excel workbook so you can export the inventory sheet again.
- Open Run with Windows + R, type
intl.cpl, and press Enter to open the Region dialog. - On the Formats tab, click Additional settings to open Customize Format.
- On the Numbers tab, write down the current List separator so you can restore it later. Enter a comma in that box and click OK twice.
- Open the original workbook in desktop Excel and select the sheet you want to export. If Excel was already open, save your work and restart Excel before testing.
- Choose File → Save As or Save a Copy, then select CSV UTF-8 (Comma delimited) (*.csv). Save it under a new name so you can compare both files.
- Open the new CSV in Notepad and check the header and a few data rows.
Item,Units,Depot
Tape,12,North
"Cable, USB",8,West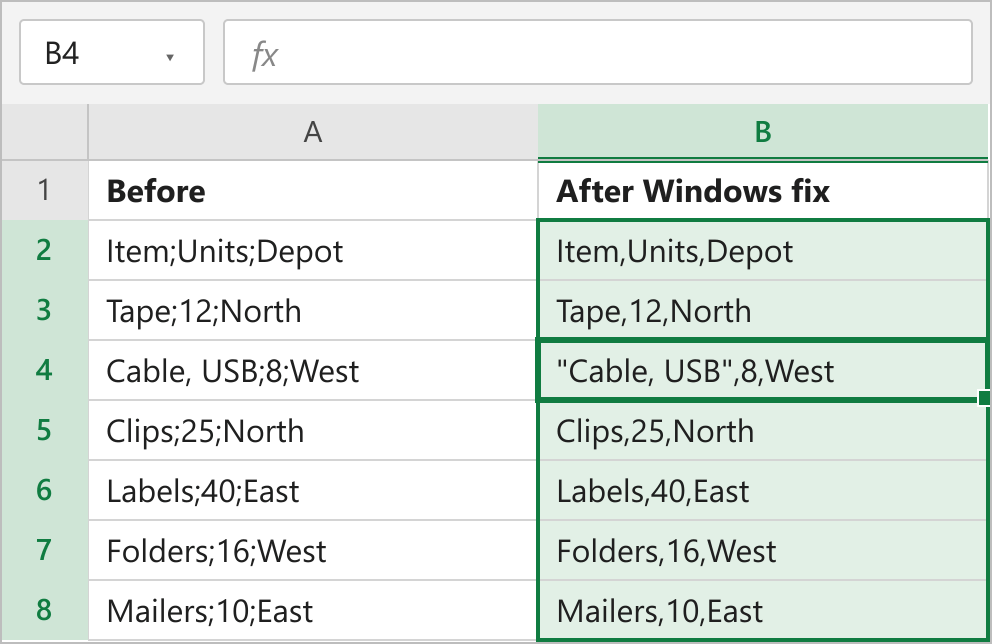
Both files have the same three fields per row. In the new file, the two commas outside the quoted item name separate the item, quantity, and depot. If you need the rest of the export steps, see how to convert Excel to CSV. A CSV holds one sheet and saves formula results as values, so keep your original workbook.
Changing the Windows list separator can affect other apps that use the same setting. It can also affect the character you type between Excel formula arguments. To undo the change, return to the same List separator box and put back the value you wrote down. Existing exports keep the delimiters they were saved with.
If the New CSV Still Has Semicolons
Check File → Options → Advanced → Editing options for Use system separators. Excel can use its own decimal and thousands separators when this option is cleared. A comma set as the decimal separator can lead Excel to write semicolons between fields. If you rely on decimal commas, use Method 2 to change the field delimiter without changing how your numbers are written. Confirm separately whether the receiving app accepts values like 12,50.
Method 2 — Convert One CSV With PowerShell
Use this method if you already have a semicolon-delimited CSV and want to keep your Windows settings. The example uses inventory-semicolon.csv, a UTF-8 file with a header row and the same six inventory items.
- Open the source CSV in Notepad and confirm that its header uses semicolons between fields.
- Open PowerShell from Start.
- Run the first line below with the folder path where you saved your CSV in place of
C:\Exports. - Run the last two lines together. Replace the source name with your filename and choose an unused name for the output.
- Open the output in Notepad and compare the header and the row containing
Cable, USBwith the original.
Set-Location -LiteralPath 'C:\Exports'
Import-Csv -LiteralPath '.\inventory-semicolon.csv' -Delimiter ';' -Encoding UTF8 |
    Export-Csv -LiteralPath '.\inventory-comma.csv' -Delimiter ',' -Encoding UTF8 -NoTypeInformation -NoClobber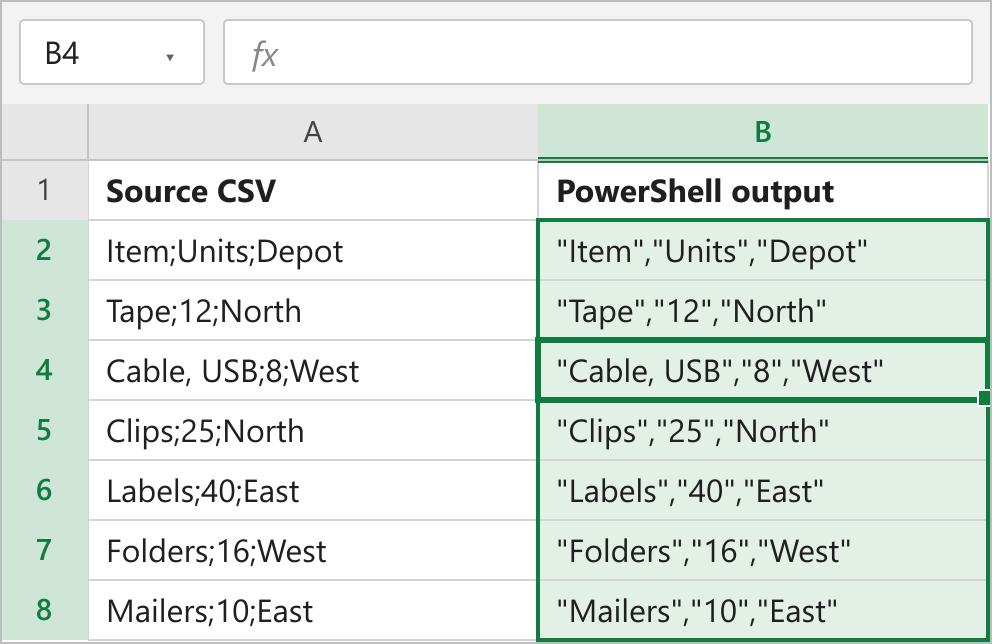
Import-Csv reads the semicolon-separated file as fields. Export-Csv writes those fields to a new file with commas between them and double quotes around each value. NoClobber protects an existing file at the output path. If that name is already taken, pick a different one. See Microsoft’s Export-Csv reference for the options used here.
This approach preserves the text of each field, including commas in item names and leading zeros in identifiers. It also leaves decimal commas in place. If your importer requires decimal points, convert the values in those specific columns before upload. A global Find and Replace can also change punctuation that belongs inside your data.
FAQs
Does CSV UTF-8 force Excel to use commas?
Does changing the list separator update CSV files I already saved?
How do I open a semicolon-delimited CSV in separate Excel columns?
Why does my comma-delimited file still open in one column in Excel?
Conclusion
Change the Windows list separator if you regularly send comma-delimited exports. For a one-off file or a computer that needs its current regional settings, use PowerShell to write a separate copy. Open the result in Notepad before uploading so you can see the exact delimiters the receiving app will read.