
Excel library
How to Wrap Text in Excel Pivot Table: A Complete Guide
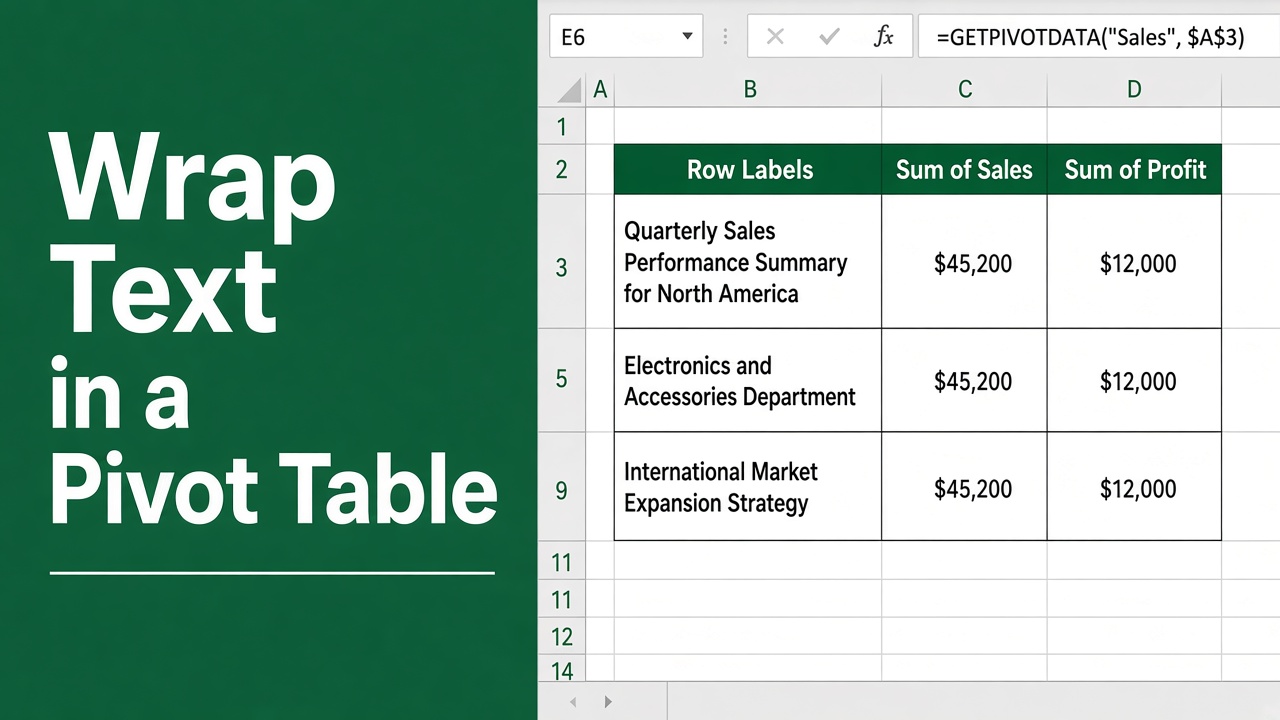
Wrapping text in an Excel pivot table allows you to display long text entries without cutting them off or having them spill into adjacent cells. This article will walk you through various methods to wrap text in pivot tables, helping you create more readable and visually appealing reports.
- Select the pivot table columns and set the width you want.
- Click Home > Wrap Text.
- Right-click the pivot table > PivotTable Options > Layout & Format, untick Autofit column widths on update, and keep Preserve cell formatting on update ticked.
Without step 3, Excel resizes the columns and undoes the wrapping every time you refresh.
Understanding Text Wrapping in Pivot Tables
Before we dive into the methods, let’s clarify what text wrapping means in the context of Excel pivot tables.
What is text wrapping?
Text wrapping is a feature that makes text fit within a cell by automatically breaking it into multiple lines. When applied to pivot tables, it ensures that all your data is visible without adjusting column widths excessively.
Why wrap text in pivot tables?
Wrapping text in pivot tables offers several benefits:
- Improved readability: Long text entries become easier to read when broken into multiple lines.
- Space efficiency: It allows you to maintain a compact table layout without sacrificing content.
- Professional appearance: Wrapped text creates a neater, more organized look for your reports.
Method 1: Using the Wrap Text Button
The simplest way to wrap text in a pivot table is by using Excel’s built-in Wrap Text feature.
Steps to wrap text using the button:
- Select the cells or entire pivot table where you want to wrap text.
- Go to the Home tab on the Excel ribbon.
- In the Alignment group, click the Wrap Text button.
This method is quick and easy but may not always provide the best results for pivot tables.
Method 2: Adjusting Column Width
Wrap Text only breaks lines at the column’s width, so set the width first: a narrower column wraps into more lines, a wider one into fewer. Changing the width alone doesn’t turn wrapping on.
How to adjust column width:
- Hover your mouse over the right edge of the column header until you see a double-headed arrow.
- Click and drag to adjust the width.
- Double-click the column border to automatically fit the widest cell content.
Method 3: Keep Wrap Text After Refreshing
The most common complaint is that wrap text disappears every time the pivot table is refreshed. Two settings control this:
- Right-click the pivot table and choose PivotTable Options.
- On the Layout & Format tab, untick Autofit column widths on update (otherwise Excel resizes the columns and undoes your layout).
- Make sure Preserve cell formatting on update is ticked.
- Click OK, then set the column width and apply Wrap Text again.
To make sure new items are wrapped too, turn on PivotTable Analyze > Actions > Select > Enable Selection, select the whole field by pointing at its header until a black arrow appears and clicking, then click Wrap Text. Formatting applied to a selected pivot field sticks to the field rather than to fixed cells. (A custom number format such as @ doesn’t wrap text; wrapping is set only by the Wrap Text option.)
Method 4: VBA Code for Text Wrapping
This macro wraps every cell in a pivot table and switches off autofit so the wrapping survives refreshes:
Sub WrapTextInPivotTable()
    Dim pt As PivotTable

    ' Change "Sheet1" to your sheet name and "PivotTable1" to your pivot table name
    Set pt = Sheets("Sheet1").PivotTables("PivotTable1")

    pt.HasAutoFormat = False          ' stop autofit on update
    pt.PreserveFormatting = True
    pt.TableRange1.WrapText = True
    pt.TableRange1.Rows.AutoFit
End Sub
Troubleshooting Common Issues
Even with these methods, you might encounter some challenges when wrapping text in pivot tables.
Issue 1: Text not wrapping in specific fields
If text isn’t wrapping in certain fields, try these solutions:
- Check if the field is formatted as text.
- Ensure the column width is sufficient for wrapping.
- Check that Autofit column widths on update is turned off in PivotTable Options, or the column widens again on refresh.
Issue 2: Wrapped text affecting table layout
When wrapped text changes your pivot table’s layout undesirably:
- Adjust row height manually or using VBA.
- Consider using a pivot chart instead for better data visualization.
Issue 3: Performance impact with large datasets
Text wrapping can slow down Excel with very large pivot tables. In such cases:
- Limit text wrapping to essential fields only.
- Use data truncation or abbreviations where possible.
- Consider using Power Pivot for improved performance with large datasets.
Best Practices for Text Wrapping in Pivot Tables
To make the most of text wrapping in your pivot tables, follow these best practices:
- Be selective: Only wrap text where necessary to maintain readability and performance.
- Combine methods: Use a combination of column width adjustment and text wrapping for optimal results.
- Use consistent formatting: Apply the same text wrapping approach across similar fields for a professional look.
- Consider alternatives: Sometimes, abbreviations or splitting data into multiple columns can be more effective than text wrapping.
Advanced Techniques for Text Management in Pivot Tables
While text wrapping is useful, there are other techniques you can employ to manage long text in pivot tables effectively.
Shortening long text in the source data
Pivot table calculated fields only work with numbers, so they can’t shorten text. Instead, add a helper column to the source data, such as =LEFT(B2, 20)&IF(LEN(B2)>20, "…", ""), refresh, and use that column in the pivot table.
Implementing slicers for text fields
Slicers provide an interactive way to filter pivot table data, which can be particularly useful for text fields.
To add a slicer:
- Select any cell in your pivot table.
- Go to Insert > Slicer.
- Choose the text field you want to filter.
This allows users to quickly find and focus on specific text entries without the need for extensive wrapping.
Comparing Text Wrapping Methods
To help you choose the best method for your needs, here’s a comparison table of the different text wrapping approaches:
| Method | Ease of Use | Flexibility | Performance Impact | Best For |
|---|---|---|---|---|
| Wrap Text Button | Easy | Low | Minimal | Quick fixes |
| Column Width Adjustment | Easy | Medium | Minimal | Simple tables |
| PivotTable Options (keep formatting) | Medium | High | Low | Pivot tables you refresh often |
| VBA Code | Advanced | Very High | Varies | Complex or repetitive tasks |
Optimizing Pivot Tables with Wrapped Text
Once you’ve successfully wrapped text in your pivot table, consider these optimization tips:
- Adjust row height: Manually adjust row height to ensure all wrapped text is visible.
- Apply conditional formatting: Use conditional formatting to highlight important information within wrapped text.
- Create custom styles: Save a PivotTable style for fonts, borders and fills; note that styles can’t store wrap text, so combine them with the PivotTable Options settings above.
Alternatives to Text Wrapping
In some cases, alternatives to text wrapping might be more suitable:
- Text to columns: Split long text entries into multiple columns before creating the pivot table.
- Custom grouping: Group similar text entries to reduce the need for wrapping.
- Pivot charts: Use pivot charts to visualize data instead of text-heavy pivot tables.
Final Thoughts
Wrapping text in Excel pivot tables is a valuable skill that can significantly improve the readability and professional appearance of your reports. By understanding the various methods available – from the simple Wrap Text button to advanced VBA solutions – you can choose the best approach for your specific needs. In addition to wrapping text, it is also important to consider the overall design and layout of your pivot tables. Utilizing features such as grouping, filtering, and sorting can help organize and present your data in a clear and logical manner. Furthermore, it is essential to ensure that your pivot tables are easy to maintain and update. One way to achieve this is by learning the easy ways for breaking links between your pivot table and the source data, allowing for seamless modifications without compromising the structure of your reports.
Remember to consider factors such as table size, performance requirements, and user interaction when implementing text wrapping. With practice and experimentation, you’ll be able to create pivot tables that are both informative and visually appealing, even when dealing with long text entries.
Whether you’re a beginner just starting with pivot tables or an advanced Excel user looking to refine your skills, mastering text wrapping techniques will help you create more effective and professional-looking spreadsheets.
Frequently Asked Questions
Why is text wrapping important in Excel pivot tables?
Text wrapping in Excel pivot tables is important because it improves readability, maintains space efficiency, and creates a more professional appearance. It allows long text entries to be displayed fully without cutting them off or having them spill into adjacent cells, making your data more accessible and your reports more visually appealing.
What’s the quickest way to wrap text in an Excel pivot table?
The quickest way to wrap text in an Excel pivot table is by using the Wrap Text button. Select the cells or entire pivot table, go to the Home tab on the Excel ribbon, and click the Wrap Text button in the Alignment group. This method is fast and easy, though it may not always provide the best results for all pivot tables.
How can I wrap text in a pivot table using VBA?
Set a reference to the pivot table and apply pt.TableRange1.WrapText = True. Add pt.HasAutoFormat = False first so the column widths aren’t reset on refresh, then run the macro from the Macros dialog (Alt + F8).
What should I do if text isn’t wrapping in specific fields of my pivot table?
Make sure Wrap Text is applied to those cells, the column is narrow enough to need wrapping, and Autofit column widths on update is turned off in PivotTable Options. With Enable Selection on, select the whole field and apply Wrap Text so new items are included.
Are there alternatives to text wrapping for managing long text in pivot tables?
Yes, there are alternatives to text wrapping for managing long text in pivot tables. These include: 1) Using the Text to Columns feature to split long text entries into multiple columns before creating the pivot table, 2) Implementing custom grouping to combine similar text entries, reducing the need for wrapping, 3) Creating pivot charts instead of text-heavy pivot tables for better data visualization, 4) Using calculated fields to manipulate or truncate text before displaying it in the pivot table.