
Excel library
Increment Cell Value by 1 in Excel with This Simple Shortcut
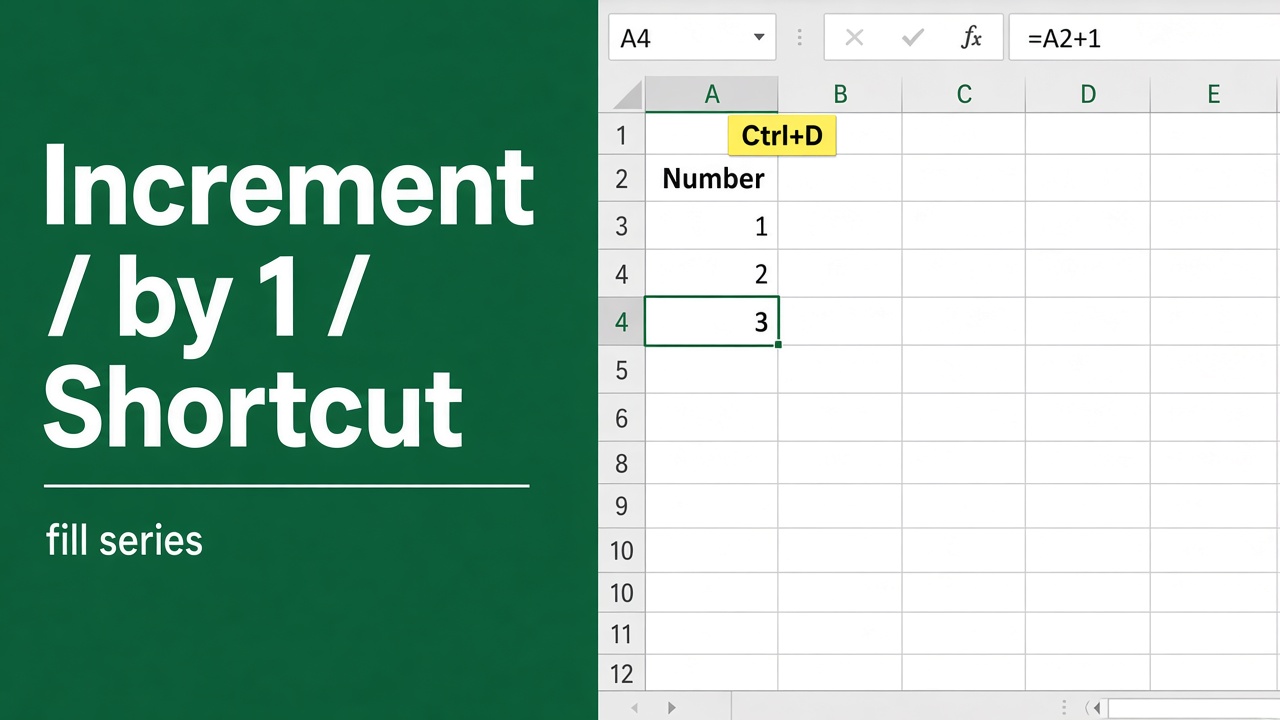
Excel is a powerful spreadsheet application that offers a wide range of features and functions to help you manage and analyze your data effectively. One of the most common tasks in Excel is incrementing cell values by a specific number, such as adding 1 to existing values.
Excel has no single built-in key for “add 1”, but these are the quickest ways:
- Add 1 to existing numbers: type 1 in a spare cell and copy it, select the numbers, press Ctrl + Alt + V, press D (Add), then Enter.
- Number a list 1, 2, 3…: type 1, then hold Ctrl while dragging the fill handle down. In Microsoft 365,
=SEQUENCE(100)fills 1 to 100 at once. - Next value in a new cell:
=A1+1. - A true one-key shortcut: use the small macro below and assign it a key such as Ctrl + Shift + U.
Whether you’re working with financial data, tracking inventory, or managing project timelines, the ability to increment cell values quickly and easily can save you time and effort. In this blog post, we’ll explore the simple method to increment cell values by 1 in Excel, along with step-by-step instructions and practical examples.
Why Increment Cell Values in Excel?
Before we learn about the method, let’s understand why incrementing cell values is important. There are several scenarios where you might need to increment cell values in Excel:
- Sequential Numbering: When you want to assign unique identifiers or serial numbers to a list of items, incrementing cell values by 1 can help you generate a sequence of numbers quickly.
- Updating Dates: If you have a list of dates and you want to shift them forward by one day, incrementing the cell values by 1 can be a convenient way to update the dates without manually editing each cell.
- Adjusting Quantities: In inventory management or order tracking, you may need to increment quantities by 1 to reflect changes or updates in your data.
- Generating Patterns: Incrementing cell values can also be helpful when you want to create patterns or sequences in your data, such as odd or even numbers.
The Simple Formula to Increment Cell Values
Now, let’s explore the simple formula that allows you to increment cell values by 1 in Excel. The formula is straightforward and easy to remember:
=A1+1Let’s break down the components of this formula:
- The equal sign (=) indicates the start of the formula.
- “A1” represents the cell reference containing the value you want to increment. You can replace “A1” with the actual cell reference you’re working with.
- The plus sign (+) is the arithmetic operator used to add a value to the cell reference.
- The number 1 specifies the increment value. In this case, we want to increment the cell value by 1.
Step-by-Step Guide to Incrementing Cell Values
Now that you understand the formula, let’s walk through the steps to increment cell values by 1 in Excel:
Step 1: Select the cell where you want to place the incremented value. This cell will display the result of the increment operation.
Step 2: Type the formula =A1+1 into the selected cell. Remember to replace “A1” with the actual cell reference containing the value you want to increment.
Step 3: Press the Enter key to apply the formula. Excel will calculate the result and display the incremented value in the selected cell.
Step 4 (Optional): If you want to increment multiple cells, you can use the fill handle to quickly apply the formula to adjacent cells. Click and drag the fill handle (the small square at the bottom-right corner of the selected cell) to apply the formula to the desired range of cells. Excel will automatically adjust the cell references in the formula based on the relative position.
Incrementing Original Cell Values
In some cases, you may want to add 1 to the original cells themselves, rather than showing the result in a separate cell. Don’t type =A1+1 into A1 itself: a formula that refers to its own cell is a circular reference and returns 0 with a warning. Use Paste Special instead:
Step 1: Type 1 in any empty cell and copy it (Ctrl + C).
Step 2: Select the cells you want to increase by 1.
Step 3: Press Ctrl + Alt + V to open Paste Special.
Step 4: Under Operation, choose Add (press D) and click OK (or press Enter).
Step 5: Delete the helper 1. Every selected number is now 1 higher; formulas in the selection become =(formula)+1.
It’s important to exercise caution when incrementing original cell values, as it will overwrite the existing data in the cells. Always create a backup of your worksheet before making any modifications to avoid losing important data.
Adding Increment/Decrement Buttons in Excel Using VBA
Here’s a simple example of how you can add increment and decrement buttons in Excel using VBA:
- Insert Buttons: First, insert two buttons (one for incrementing and one for decrementing) from the Developer tab in Excel.
- Assign Macros: Assign macros to these buttons. Right-click on the button, select “Assign Macro”, and then select or create a macro for each button.
- Write VBA Code: Write VBA code for the macros that will handle the incrementing and decrementing.
Here’s an example of what the VBA code might look like:
Sub IncrementValue()
    Dim currentValue As Double
    ' Assuming the value you want to increment is in cell A1
    currentValue = Range("A1").Value
    ' Increment the value by 1
    currentValue = currentValue + 1
    ' Update the value in cell A1
    Range("A1").Value = currentValue
End Sub

Sub DecrementValue()
    Dim currentValue As Double
    ' Assuming the value you want to decrement is in cell A1
    currentValue = Range("A1").Value
    ' Decrement the value by 1
    currentValue = currentValue - 1
    ' Update the value in cell A1
    Range("A1").Value = currentValue
End Sub
Once you’ve inserted the buttons and assigned these macros to them, clicking on each button will trigger the respective macro, which will increment or decrement the value in cell A1 accordingly.
To use the provided VBA code to add increment and decrement buttons in Excel, follow these steps:
- Open Excel and make sure the Developer tab is visible. If it’s not visible, you can enable it by going to File > Options > Customize Ribbon, then check the Developer option under the Main Tabs section.
- Once the Developer tab is visible, click on it.
- Click on the “Insert” option in the Developer tab and then click on the “Button” control. This will allow you to draw a button on your worksheet.
- Draw two buttons on your worksheet, one for incrementing and one for decrementing.
- Right-click on the first button (the one you want to use for incrementing), and select “Assign Macro”. Choose “IncrementValue” from the list of available macros and click “OK”. Repeat this step for the second button, assigning the “DecrementValue” macro to it.
- Close the dialog box, and now your buttons are ready to use.
- Now, whenever you click the increment button, the value in cell A1 will increase by 1, and whenever you click the decrement button, the value in cell A1 will decrease by 1.
Remember to adjust the cell references in the VBA code if you want to use different cells for storing and displaying the value you want to increment and decrement.
To add 1 to whichever cells are selected with a keyboard shortcut, use this macro instead, then go to Developer > Macros, select it, click Options, and set a shortcut such as Ctrl + Shift + U:
Sub AddOneToSelection()
    Dim c As Range
    For Each c In Selection
        If IsNumeric(c.Value) And Not c.HasFormula Then c.Value = c.Value + 1
    Next c
End Sub
Macros can’t be undone with Ctrl + Z, and the workbook must be saved as .xlsm to keep them.
Using Fill Handle to Increment Cell Value by 1
Using the fill handle in Excel to increment cell values by 1 is quite simple. Here’s how you can do it:
- Enter the initial value in a cell. For example, if you want to start with the number 1, type “1” into a cell.
- Click on the cell to select it.
- Move your mouse cursor to the bottom-right corner of the cell until it turns into a black crosshair (this is the fill handle).
- Hold Ctrl and drag the fill handle down or across. (Without Ctrl, a single number is just copied; you can also drag normally and then choose Fill Series from the Auto Fill Options button.) As you drag, Excel shows a preview of the values.
- Release the mouse button when you’ve reached the desired range or number of cells.
Excel increments the value by 1 in each consecutive cell. If you started with “1” in the initial cell, the next cell will be filled with “2”, the one after that with “3”, and so on.
If you want to customize the increment value or pattern (e.g., increment by 2, 5, or any other value), you can do so by filling in a few cells with the desired pattern and then using the fill handle to extend that pattern as needed.
Practical Examples:
Let’s explore a few practical examples where incrementing cell values by 1 can be helpful:
Example 1: Sequential Numbering Suppose you have a list of items in column B, starting from cell B1, and you want to number them in column A. You can use the increment formula to generate the sequence:
- Type 1 in A1, and in cell A2 enter the formula
=A1+1. - Double-click the fill handle in A2 to copy it down to the last item in the list.
Excel will automatically generate sequential numbers for each item, starting from 1.
Example 2: Updating Dates If you have a list of dates in column A and you want to shift each date forward by one day, you can use the increment formula:
- In cell B1, enter the formula
=A1+1. - Click and drag the fill handle in cell B1 down to the last date in the list.
Excel will increment each date by one day, updating the entire date range.
Example 3: Adjusting Quantities In an inventory tracking sheet, you might need to increment quantities by 1 to reflect new stock additions. Assuming the current quantities are listed in column B, you can use the increment formula to update the quantities:
- In cell C1, enter the formula
=B1+1. - Click and drag the fill handle in cell C1 down to the last item in the list.
The incremented quantities will be displayed in column C, reflecting the updated stock levels.
Final Thoughts
Incrementing cell values by 1 in Excel is a simple yet valuable operation that can save you time and effort in various scenarios. By using the formula =A1+1 and following the step-by-step guide provided in this blog post, you can easily increment cell values and adapt the technique to your specific needs. Whether you’re working with sequential numbering, updating dates, adjusting quantities, or generating patterns, the increment formula is a handy tool to have in your Excel toolkit.
Remember to always create a backup of your worksheet before making any modifications, especially when incrementing original cell values. This precautionary measure ensures that you don’t accidentally lose important data in the process.