
Excel library
How to Unprotect an Excel Sheet (3 Easy Ways)
You open a workbook a colleague sent last year, try to fix one number, and Excel refuses with a message that the cell is protected. Sheet protection locks cells so nobody changes formulas or layouts by accident, but it gets in the way when you need to edit the file yourself.
The fix takes a few clicks if you know the password, and there are still ways forward if you do not. In this tutorial, I'll show you how to unprotect an Excel sheet, with and without the password.
- Open the protected sheet and go to the Review tab.
- Click Unprotect Sheet in the Protect group.
- Type the password if Excel asks for one, then click OK.
If you do not have the password, use Method 2 below. It removes the protection from the file's XML in a few minutes.
Sheet, Workbook and File Protection: What Is the Difference?
Excel has three kinds of protection, and each one is removed in a different place. Check which one you are dealing with before you start.
| Type | What it blocks | How you notice it |
|---|---|---|
| Sheet protection | Editing locked cells on one sheet | "The cell or chart you're trying to change is on a protected sheet" |
| Workbook structure protection | Adding, deleting, renaming or moving sheets | Sheet options in the right-click menu are greyed out |
| Password to open | Opening the file at all | Excel asks for a password before showing anything |
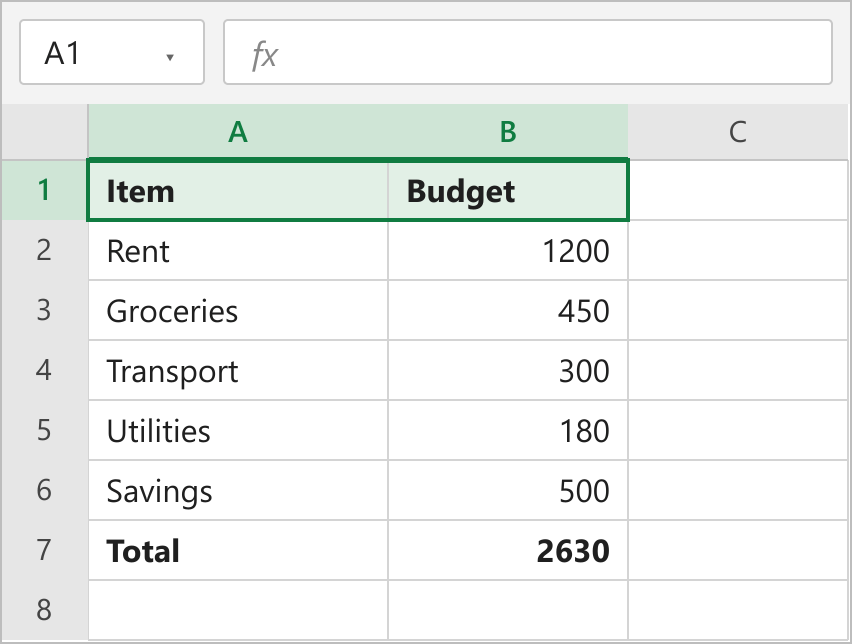
Our data is in A1:B7, a small budget with items in column A and amounts in column B. Every cell on the sheet is locked, so typing in B3 shows the protected-sheet warning.
Method 1: Using the Review Tab (You Know the Password)
This is the normal route, and it works in every version of Excel. It also works when the sheet was protected without a password.
- Click the tab of the protected sheet.
- Go to the Review tab on the ribbon.
- In the Protect group, click Unprotect Sheet.
- Type the password in the box that appears.
- Click OK.
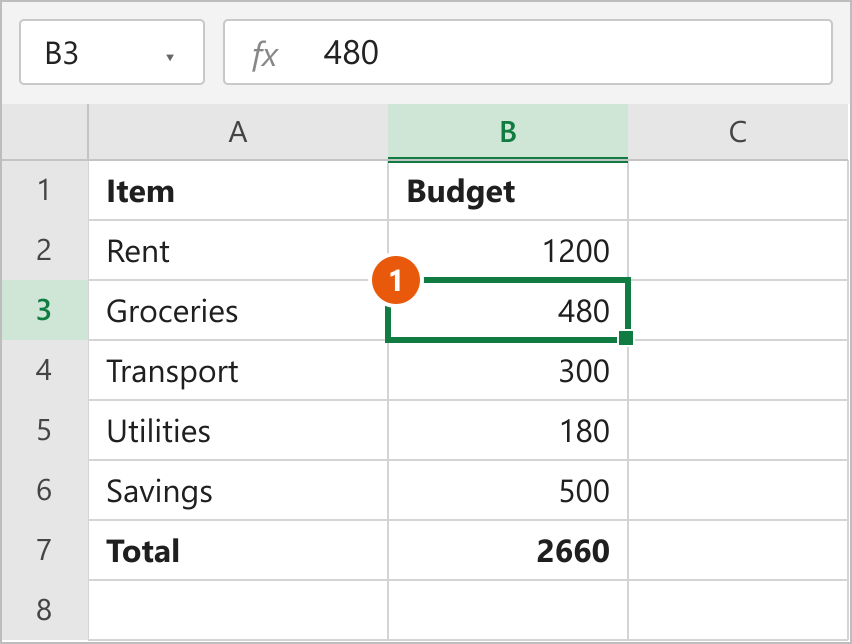
- Select cell B3 and type a new value, such as 480.
If the sheet had no password, Excel unprotects it as soon as you click Unprotect Sheet, and you skip steps 4 and 5. The button then changes back to Protect Sheet, which tells you the sheet is now open for editing.
Other Ways to Reach Unprotect Sheet
You can also right-click the sheet tab and choose Unprotect Sheet. Or go to Home, open the Format dropdown in the Cells group, and click Unprotect Sheet. All three routes do the same thing.
How to Unprotect a Workbook
Workbook protection is separate from sheet protection. If you cannot add, rename or delete sheets, do this instead:
- Go to the Review tab.
- Click Protect Workbook. The button is shaded when protection is on.
- Enter the password and click OK.
To remove a password that is needed to open the file, go to File, then Info, then Protect Workbook, and choose Encrypt with Password. Delete the password in the box, click OK and save the file.
Note: If you see Enable Editing at the top of the window, that is Protected View, not sheet protection. Click the button, or see the shortcut to enable editing in Excel.
Method 2: Using the ZIP and XML Trick (No Password)
An .xlsx file is a ZIP package of XML files. Sheet protection is stored as one line of text inside the sheet's XML file, and you can delete that line. Use this only on files you own or have permission to edit.
- Close the workbook and make a copy of the file. Work on the copy.
- In File Explorer, turn on File name extensions from the View menu.
- Rename the copy from Budget.xlsx to Budget.zip and confirm the change.
- Open the ZIP file, then open the xl folder and the worksheets folder.
- Copy sheet1.xml to your desktop and open it in Notepad.
- Press Ctrl+F and search for sheetProtection.
- Delete the whole tag, from the opening
<to the closing/>, then save the file. - Copy the edited sheet1.xml back into the ZIP and replace the original.
- Rename the file back to Budget.xlsx and open it.
The tag you are looking for looks like this. The attribute values will differ in your file:
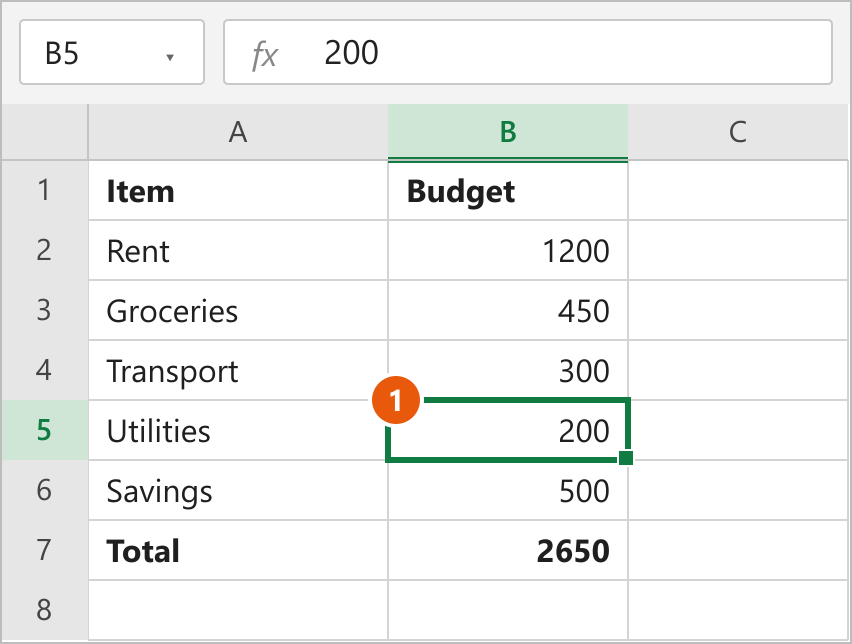
<sheetProtection algorithmName="SHA-512" hashValue="..." saltValue="..." spinCount="100000" sheet="1" objects="1" scenarios="1"/>The sheet is now unprotected, and the Review tab shows Protect Sheet again. In our copy, we changed B5 to 200 and the total in B7 updated to 2,650.
How this works
Excel stores only a hash of the sheet password inside the file, and the lock itself is just that tag. Delete the tag and Excel has nothing to check, so the password no longer matters.
The sheet number does not always match the tab order. If sheet1.xml has no sheetProtection tag, try the other files in the worksheets folder. To remove workbook structure protection the same way, open xl/workbook.xml and delete the workbookProtection tag.
Note: This does not work on a file that needs a password to open. That password encrypts the whole file, so the ZIP will not open. It also does not work on older .xls files. Open one, use Save As to save it as .xlsx, and then follow the steps.
Method 3: Using Google Sheets (No Password)
Google Sheets does not support Excel's sheet protection, so it drops it when it opens the file. This is the easiest option if you do not want to edit XML.
- Go to Google Drive, click New, and choose File upload.
- Select the protected workbook.
- Right-click the uploaded file and choose Open with, then Google Sheets.
- Click File, then Download, then Microsoft Excel (.xlsx).
The downloaded file opens in Excel with the sheet unprotected. Compare it with your original, because some formatting, charts or macros may not survive the round trip. Macros are lost entirely, so skip this method for .xlsm files.
Note: This uploads your data to Google's servers. Do not use it for confidential workbooks if your company rules forbid it.
FAQs
Why is Unprotect Sheet greyed out or missing?
Can a VBA macro unprotect a sheet without the password?
Can I remove a password that is needed to open the file?
Does unprotecting a sheet delete my data or formulas?
How do I protect the sheet again afterwards?
Conclusion
If you know the password, use Unprotect Sheet on the Review tab, which takes seconds. If you have lost it, the ZIP and XML trick is the method I would use, because it keeps your formatting and macros intact. Google Sheets is a fair fallback for simple files, as long as you check the result afterwards.