
Excel library
How to Insert Tick Mark in Excel Using Shortcut Key?
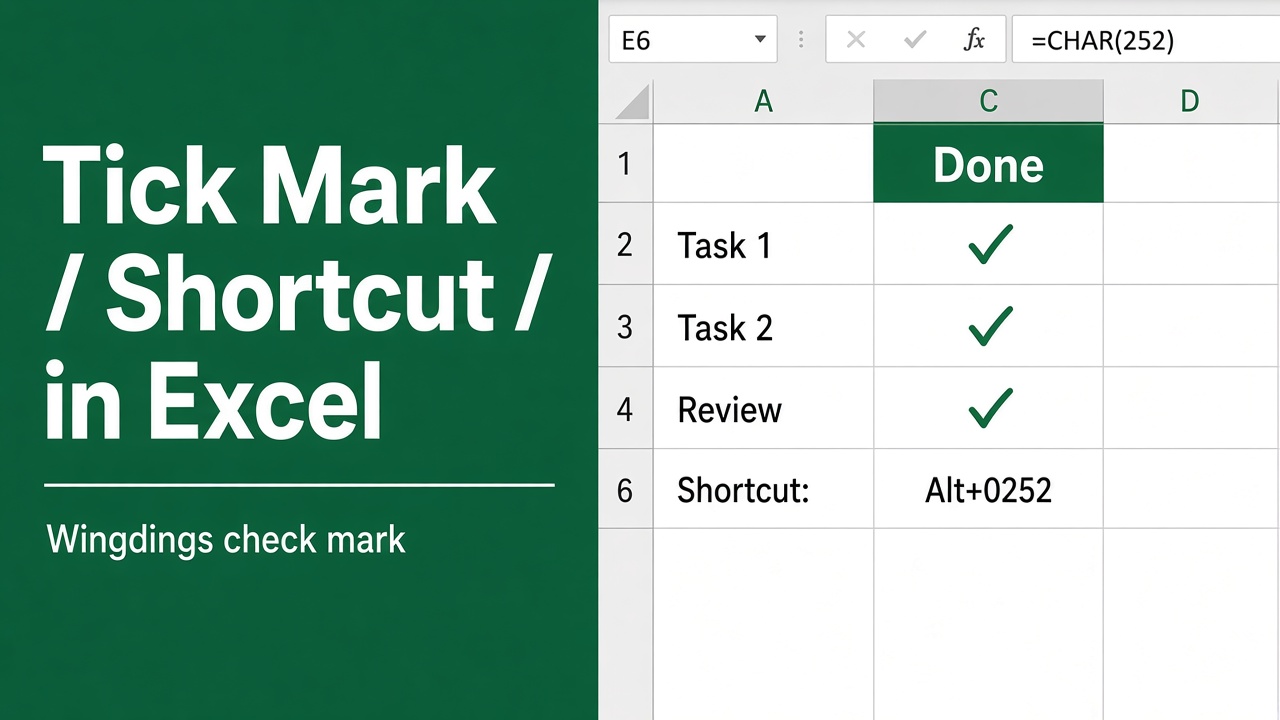
Microsoft Excel offers several quick and easy ways to insert a tick mark (✓), also known as a checkmark, into your spreadsheets. Tick marks are commonly used to indicate completion, approval, or selection in checklists, to-do lists, and for highlighting important data. They provide a clear visual cue that helps users quickly identify the status of tasks or the significance of specific cells.
- Fastest: set the cell’s font to Wingdings 2 and press Shift + P for ✓ (Shift + R gives ☑).
- Any font: type
=UNICHAR(10003). - Alt code: press Alt + 0252 on the numeric keypad, then set the font to Wingdings.
To fill several cells at once, select them, type the tick, and press Ctrl + Enter.
In this comprehensive guide, we’ll explore the best methods to insert a tick mark in Excel, including shortcuts, fonts, symbols, and even creating your own custom tick mark style.
Method 1: Using Wingdings Font and Keyboard Shortcuts
One of the fastest and most convenient ways to insert a tick mark in Excel is by using the Wingdings 2 font and simple keyboard shortcuts. Wingdings is a font family that includes various symbols and icons, making it perfect for adding visual elements to your spreadsheets. Here’s a step-by-step guide on how to use this method:
- Select the cell or range of cells where you want to insert the tick mark(s).
- Navigate to the Home tab on the Excel ribbon.
- Locate the Font group and click on the drop-down menu to expand the font options.
- Scroll through the font list and select Wingdings 2.
- With Wingdings 2 selected, you can now use two specific keyboard shortcuts to insert tick marks:
- Press Shift + P to insert a regular tick mark symbol (✓).
- Press Shift + R to insert a tick mark inside a square box (☑).
The tick mark will immediately appear in the selected cell(s), and you can continue working on your spreadsheet.
| Shortcut | Symbol | Description |
|---|---|---|
| Shift + P | ✓ | Regular tick mark |
| Shift + R | ☑ | Tick mark inside square box |
Using these keyboard shortcuts in combination with the Wingdings 2 font provides a quick and efficient way to add basic tick marks to your Excel spreadsheets. This method is particularly useful when you need to insert tick marks frequently or in multiple cells at once.
Method 2: Using the Symbol Dialog Box
If you require more tick mark options or want to browse through all available symbols, the Symbol dialog box in Excel is the way to go. This method offers a wide range of tick mark styles and related symbols, giving you the flexibility to choose the one that best suits your needs. Follow these steps to insert a tick mark using the Symbol dialog box:
- Select the cell or range of cells where you want to insert the tick mark(s).
- Go to the Insert tab on the Excel ribbon.
- In the Symbols group, click on the Symbol button to open the Symbol dialog box.
- In the Symbol dialog box, locate the Font drop-down menu and choose Wingdings 2 from the list.
- Scroll through the symbol list to find the desired tick mark symbol. Some commonly used options include:
- ✓ (regular tick mark)
- ☑ (tick mark in a square box)
- ✔ (bold tick mark)
- ✗ (cross mark)
- Click on the desired symbol to select it.
- Click the Insert button to add the selected symbol to your spreadsheet.
- Click Close to exit the Symbol dialog box.
The chosen tick mark symbol will now appear in the selected cell(s).
While using the Symbol dialog box may take a bit longer than using keyboard shortcuts, it provides a more comprehensive set of options and allows you to visually browse through various tick mark styles and related symbols.
This method is particularly helpful when you want to use a specific type of tick mark or need to insert multiple different symbols in your spreadsheet.
Method 3: Using Alt Codes and the UNICHAR Function
Excel doesn’t accept four-digit Unicode codes such as Alt + 2713 (that trick, typing 2713 and pressing Alt + X, only works in Word). These work in Excel instead:
- Alt + 0252 on the numeric keypad, then set the cell’s font to Wingdings: a tick mark (✔)
- Alt + 0254, then set the font to Wingdings: a tick in a box (☑)
=UNICHAR(10003): a tick mark (✓) in any font, no font change needed=UNICHAR(10004): a heavy tick mark (✔)=UNICHAR(9745): a tick in a box (☑)
| Method | Symbol | Font needed |
|---|---|---|
| Alt + 0252 | ✔ | Wingdings |
| Alt + 0254 | ☑ | Wingdings |
| =UNICHAR(10003) | ✓ | Any |
| =UNICHAR(9745) | ☑ | Any |
UNICHAR is handy with IF, for example =IF(C2="Done", UNICHAR(10003), "") shows a tick automatically when a task is marked Done. Alt codes need a numeric keypad with Num Lock on; on a laptop without one, use UNICHAR or the Wingdings 2 method above.
Creating Custom Tick Mark Styles
In addition to the standard tick mark symbols available in Excel, you can also create your own custom tick mark styles using the built-in Shapes feature. This allows you to design tick marks that match your spreadsheet’s theme or branding. Here’s how to create a custom tick mark:
- Go to the Insert tab on the Excel ribbon.
- In the Illustrations group, click on the Shapes button.
- Choose a shape that resembles a tick mark, such as a checkmark or a line with an arrow.
- Click and drag on your spreadsheet to draw the shape in the desired size.
- Use the formatting options in the Shape Format tab to customize the appearance of your tick mark, such as changing the fill color, outline, or adding effects like shadow or glow.
- To use your custom tick mark in multiple cells, you can copy and paste it or save it as a Picture by right-clicking the shape and selecting Save as Picture.
Creating custom tick mark styles gives you the freedom to design marks that align with your specific needs and preferences, making your spreadsheets more visually appealing and on-brand.
Tips for Using Tick Marks in Excel
To make the most out of tick marks in your Excel spreadsheets, consider the following tips:
- Be consistent: Use tick marks consistently throughout your spreadsheet to maintain clarity and readability. Establish a clear system for what each tick mark represents and stick to it.
- Provide a legend: If your spreadsheet includes multiple types of tick marks or symbols, create a legend or key to explain their meaning, especially if you plan to share the file with others.
- Utilize conditional formatting: Excel’s conditional formatting feature allows you to automatically apply tick marks based on certain criteria, such as completion status or approval. This can save you time and ensure your spreadsheet is always up-to-date.
- Combine with other symbols: Use tick marks in combination with other symbols, such as crosses (X) or dashes (-), to create more detailed status indicators or to convey additional information.
- Customize colors: Change the color of your tick marks using the Font Color tool on the Home tab to make them stand out or match your spreadsheet’s color scheme.
By implementing these tips, you can enhance the functionality and visual appeal of tick marks in your Excel spreadsheets, making them more effective tools for tracking progress, indicating status, and highlighting important information.
Final Thoughts
Inserting tick marks in Excel is a simple yet powerful way to mark items as complete, approved, or selected, making your spreadsheets more organized and informative. Whether you prefer using keyboard shortcuts with the Wingdings font, exploring the Symbol dialog box, using Alt codes or the UNICHAR function, or even creating your own custom tick mark styles, Excel provides a variety of methods to suit your needs and preferences.
Remember to use tick marks consistently, provide a legend when necessary, and explore advanced features like conditional formatting to streamline your workflow and make your spreadsheets more dynamic.
People Also Ask
Can I use these tick mark shortcuts in other Microsoft Office applications?
Mostly. The Wingdings 2 font trick, the Symbol dialog box and Alt + 0252 (with Wingdings) work in Word, PowerPoint and Outlook too. In Word you can also type 2713 and press Alt + X to turn it into ✓. UNICHAR is an Excel function only.
How do I insert a tick mark in Excel on a Mac?
The process for inserting tick marks in Excel on a Mac is similar to Windows, with a few key differences:
- The Wingdings 2 method is the same: set the font to Wingdings 2 and press Shift + P for a tick or Shift + R for a tick in a box.
- To access the Symbol dialog box, go to the Insert menu and choose Advanced Symbol.
- Formulas such as =UNICHAR(10003) work the same as on Windows. You can also open the Character Viewer with Control + Command + Space and search for “check”.
Can I create a custom shortcut for inserting tick marks in Excel?
Excel for Windows doesn’t let you assign keyboard shortcuts to symbols, but two workarounds do the same job:
- AutoCorrect: go to File > Options > Proofing > AutoCorrect Options, type a code such as tck in Replace, paste ✓ in With, and click Add. Typing tck then inserts a tick.
- Quick Access Toolbar: right-click Insert > Symbol and choose Add to Quick Access Toolbar; press Alt plus its position number (e.g. Alt + 4) to open it.
How can I quickly insert tick marks in multiple cells at once?
To insert tick marks in multiple cells simultaneously, select the desired range of cells and use one of the methods mentioned in the article, such as keyboard shortcuts with the Wingdings font or the Symbol dialog box. After typing the tick in the first cell, press Ctrl + Enter instead of Enter to put it in all selected cells at once, or copy a tick cell and paste it over the range.
Can I change the color of the tick marks in Excel?
Yes, you can change the color of the tick marks in Excel by selecting the cell(s) containing the tick marks and using the Font Color tool on the Home tab to choose a different color.